Work With GitHub Issues and Pull Requests
Warning
This section is freely adapted from the official GitHub guides.
Issues
An Issue is a note on a repository about something that needs attention. It could be a bug, a feature request, a question or lots of other things. On GitHub you can label, search and assign Issues, making managing an active project easier.
For example, let’s take a look at Bootstrap’s Issues section:

GitHub’s issue tracking is special because of our focus on collaboration, references, and excellent text formatting. A typical issue on GitHub looks a bit like this:

- A title and description describe what the issue is all about.
- Color-coded labels help you categorize and filter your issues (just like labels in email).
- A milestone acts like a container for issues. This is useful for associating issues with specific features or project phases (e.g. Weekly Sprint 9/5-9/16 or Shipping 1.0).
- One assignee is responsible for working on the issue at any given time.
- Comments allow anyone with access to the repository to provide feedback.
Open an Issue
Click the Issues tab from the sidebar.

Click New Issue.
Give your Issue a title and description: Add a new Logo to GeoNode custom.

Click Submit new Issue when you’re done. Now this issue has a permanent home (URL) that you can reference even after it is closed.
Issues Pro Tips
- Check existing issues for your issue. Duplicating an issue is slower for both parties so search through open and closed issues to see if what you’re running into has been addressed already.
- Be clear about what your problem is: what was the expected outcome, what happened instead? Detail how someone else can recreate the problem.
- Link to demos recreating the problem on things like JSFiddle or CodePen.
- Include system details like what the browser, library or operating system you’re using and its version.
- Paste error output or logs in your issue or in a Gist. If pasting them in the issue, wrap it in three backticks:
```so that it renders nicely.
Branching
Branching is the way to work on different parts of a repository at one time.
When you create a repository, by default it has one branch with the name master. You could keep working on this branch and have only one, that’s fine. But if you have another feature or idea you want to work on, you can create another branch, starting from master, so that you can leave master in its working state.
When you create a branch, you’re making a copy of the original branch as it was at that point in time (like a photo snapshot). If the original branch changes while you’re working on your new branch, no worries, you can always pull in those updates.

At GeoNode developers use branches for keeping bug fixes and feature work separate from master (production) branch. When a feature or fix is ready, the branch is merged into master through a Pull Request.
To create a new branch
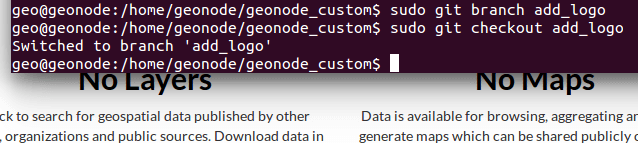
Go to the project folder and create a new branch
$ cd /home/geonode/geonode_custom/
$ sudo git branch add_logo
$ sudo git checkout add_logo
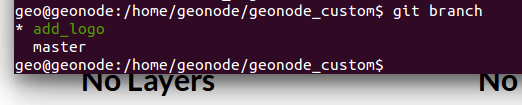
Check that you are working on the correct branch:
add_logo.$ cd /home/geonode/geonode_custom/ $ git branch
Push the new branch to GitHub.
$ cd /home/geonode/geonode_custom/
$ sudo git push origin add_logo

Make a commit
On GitHub, saved changes are called commits.
Each commit has an associated commit message, which is a description explaining why a particular change was made. Thanks to these messages, you and others can read through commits and understand what you’ve done and why.
Add a new logo to your custom GeoNode as described in the section Theming your GeoNode project
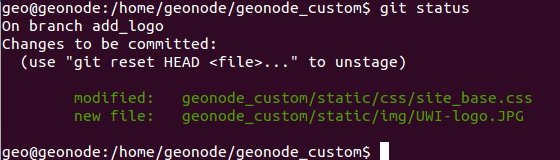
Stash the new files into the working project using
git add$ cd /home/geonode/geonode_custom/ $ sudo git add geonode_custom/static $ git status
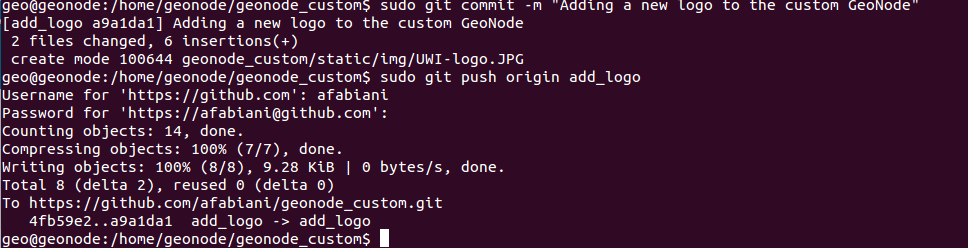
Commit the changes providing a commit messages and push them into your branch :
add_logo.$ cd /home/geonode/geonode_custom/ $ sudo git commit -m "Adding a new logo to the custom GeoNode" $ sudo git push origin add_logo
Pull Requests
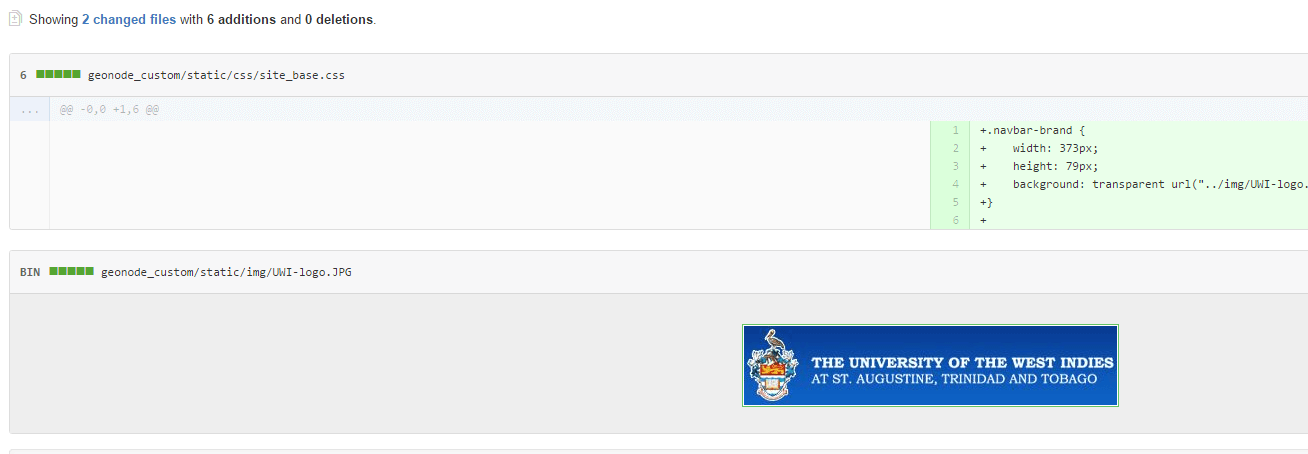
Pull Requests are the heart of collaboration on GitHub. When you make a pull request, you’re proposing your changes and requesting that someone pull in your contribution - aka merge them into their branch. GitHub’s Pull Request feature allows you to compare the content on two branches. The changes, additions and subtractions, are shown in green and red and called diffs (differences).
As soon as you make a change, you can open a Pull Request. People use Pull Requests to start a discussion about commits (code review) even before the code is finished. This way you can get feedback as you go or help when you’re stuck.
By using GitHub’s @mention system in your Pull Request message, you can ask for feedback from specific people or teams.
Create a Pull Request for changes to the Logo
Click the Pull Request icon on the sidebar, then from the Pull Request page, click the green New pull request button.
Select the branch you made,
add_logo, to compare withmaster(the original).
Look over your changes in the diffs on the Compare page, make sure they’re what you want to submit.
When you’re satisfied that these are the changes you want to submit, click the big green Create Pull Request button.

Give your pull request a title and since it relates directly to an open issue, include “fixes #” and the issue number in the title. Write a brief description of your changes.

When you’re done with your message, click Create pull request!
Merge your Pull Request
It’s time to bring your changes together – merge your add_logo branch into the master (the original) branch.
Click the green button to merge the changes into master. Click Confirm merge. Go ahead and delete the branch, since its changes have been incorporated, with the Delete branch button in the purple box.

If you revisit the issue you opened, it’s now closed! Because you included “fixes #1” in your Pull Request title, GitHub took care of closing that issue when the Pull Request was merged!