Adding a GDAL Supported Format
In case the GDAL libraries are available, it is possible to access to several GDAL’s supported data formats. Actually, the available GDAL plugins allow to support DTED, EHdr, ERDASImg, MrSID, JPEG 2000 (via MrSID Driver) and NITF data formats. Moreover, in case a valid license have been purchased and the proper native library is available, also ECW, JPEG 2000 (via ECW) and JPEG 2000 (via Kakadu) are supported. This section provides instructions to add and publish MrSID, ECW and JPEG 2000 datasets.
Warning
This assumes the GeoServer image GDAL plug-in is already installed. The GDAL plugin is normally an extension.
If the store described in this section are not avaiable, install the ‘geoserver-2.2-SNAPSHOT-gdal-plugin’ from%TRAINING_ROOT%\data\plugins\. Just decompress the zip file into%TRAINING_ROOT%\webapps\geoserver\WEB-INF\lib\and restart GeoServer.
MrSID Data Set
Open the web browser and navigate to the GeoServer Welcome Page.
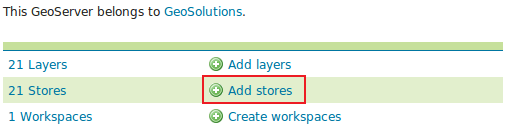
Select Add stores from the interface.
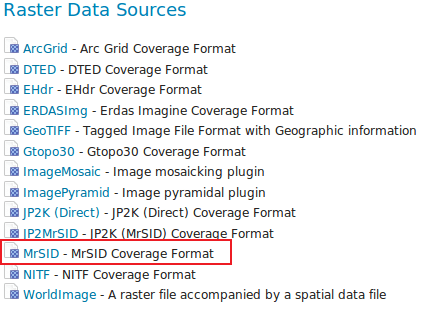
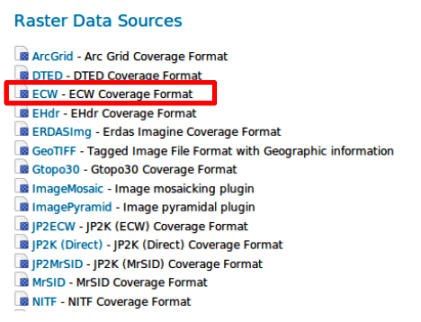
Select MrSID - MrSID Coverage Format from the set of available Raster Data Sources.
Specify a proper name (as an instance,
c3008957_nes_20) in the Data Source Name field of the interface.Specify
file:%TRAINING_ROOT%/data/user_data/c3008957_nes_20/c3008957_nes_20.sidas URL of the sample data in the Connections Parameter’s - URL field. (replace %TRAINING_ROOT% with your current training root directory)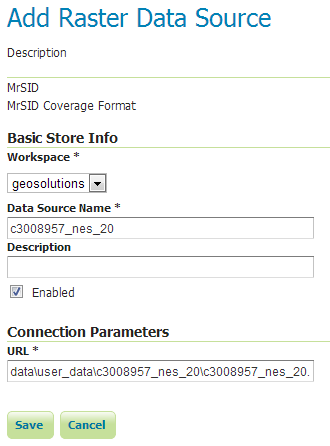
Click Save.
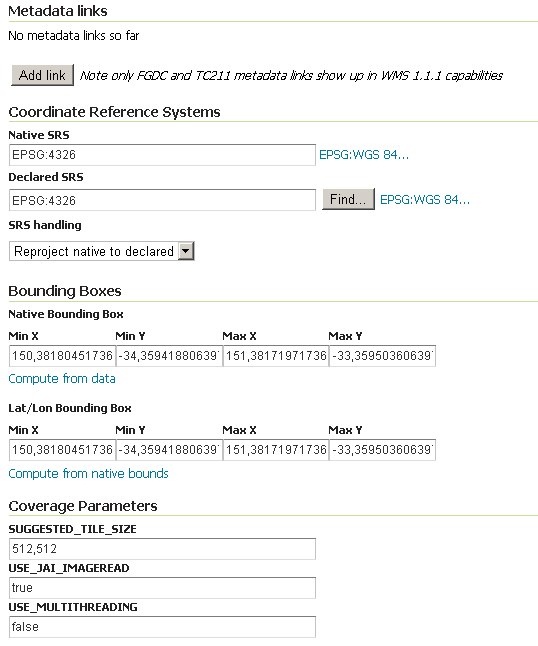
Assign a proper layername (e.g
c3008957_nes_20) then publish the layer by clicking on the publish link.
Click on Save when done.
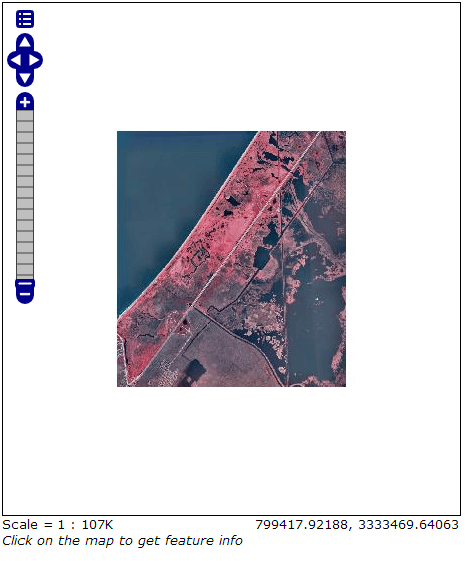
At this point the MrSID data is being published with GeoServer.
Click the Layer Preview link in the left GeoServer menu.
Look for a geosolutions:c3008957_nes_20 layer and click the OpenLayers link beside of it.

ECW Data Set
Warning
Attention, you need a license in order to use ECW data sets. Here we are using a free distributed ECW file only for demonstration.
ECW (Enhanced Compression Wavelet) is a proprietary wavelet compression image format optimized for aerial and satellite imagery.
Open the web browser and navigate to the GeoServer Welcome Page.
Select Add stores from the interface.
Select ECW - ECW Coverage Format from the set of available Raster Data Sources.
Specify a proper name (as an instance,
TerraColor_Sydney_AU_15m) in the Data Source Name field of the interface.Specify
file:%TRAINING_ROOT%/data/user_data/tc_sydney_au_ecw/TerraColor_Sydney_AU_15m.ecwas URL of the sample data in the Connections Parameter’s - URL field (replace %TRAINING_ROOT% with your current training root directory).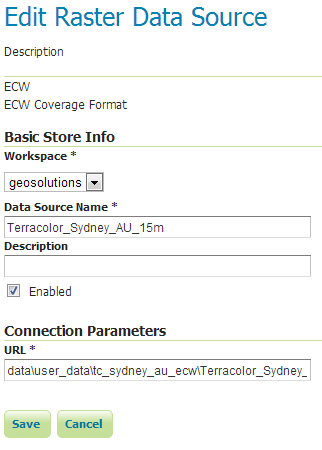
Click Save.
Assign a proper layername (e.g
TerraColor_Sydney_AU_15m) then publish the layer by clicking on the publish link.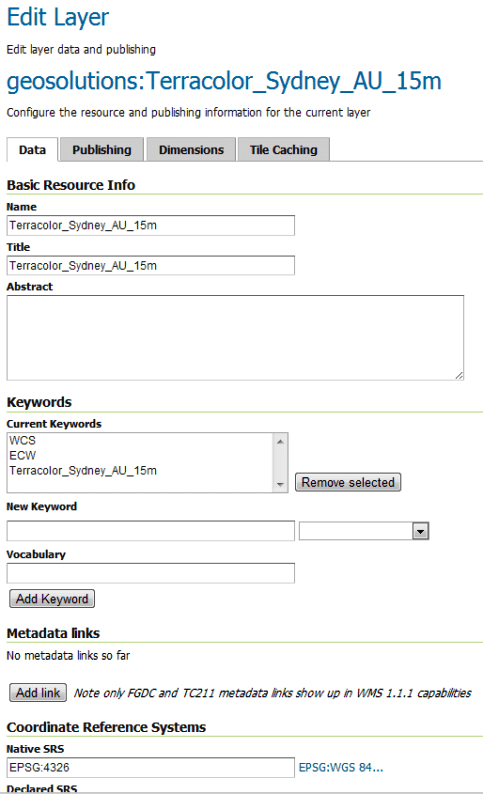
At this point the ECW data is being published with GeoServer.
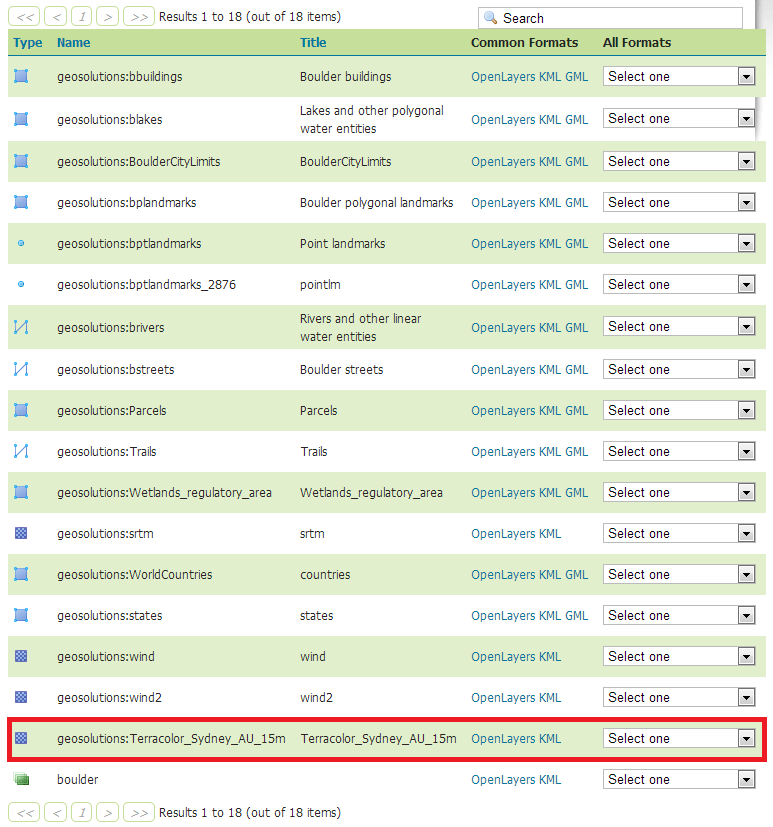
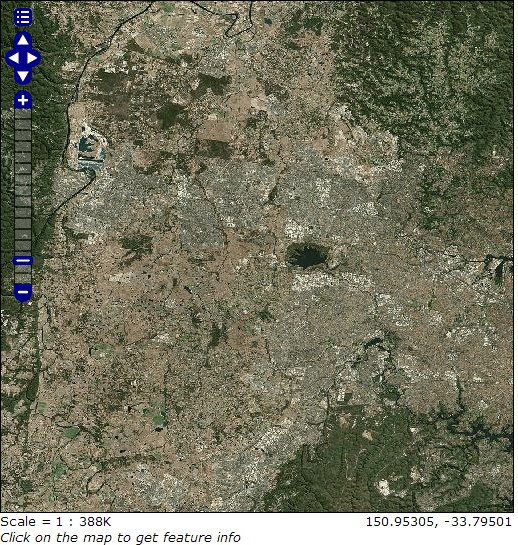
Click the Layer Preview link in the left GeoServer menu.
Look for a geosolutions:TerraColor_Sydney_AU_15m layer and click the OpenLayers link beside of it.
JP2K Data Set
JPEG 2000 is a image coding system that uses state-of-the-art compression techniques based on wavelet technology.
Open the web browser and navigate to the GeoServer Welcome Page.
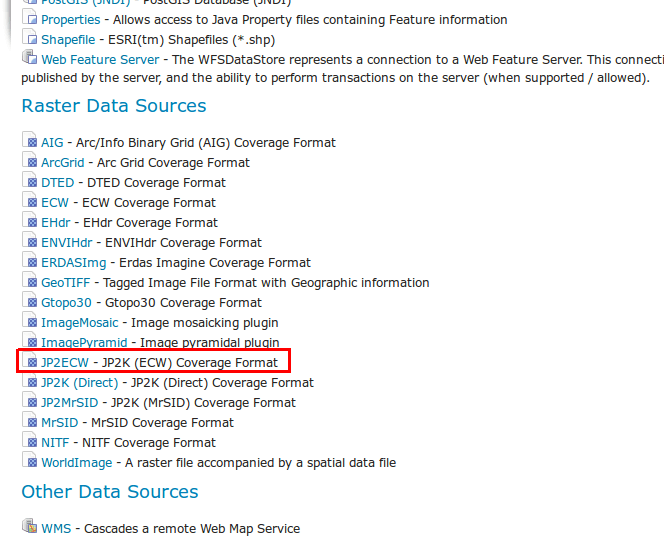
Select Add stores from the interface.
Select JP2ECW - JP2 (ECW) Coverage Format from the set of available Raster Data Sources.
Note
We used JP2ECW - JP2 (ECW) Coverage Format because JP2MrSID - JP2 (MrSID) Coverage Format is not fully stable, and may not work properly especially with several Linux distributions.
Specify a proper name (as an instance,
TerraColor_Sydney_AU_15m_JP2K) in the Data Source Name field of the interface.Specify
file:%TRAINING_ROOT%/data/user_data/tc_sydney_au_jp2/TerraColor_Sydney_AU_15m.jp2as URL of the sample data in the Connections Parameter’s - URL field. (replace %TRAINING_ROOT% with your current training root directory)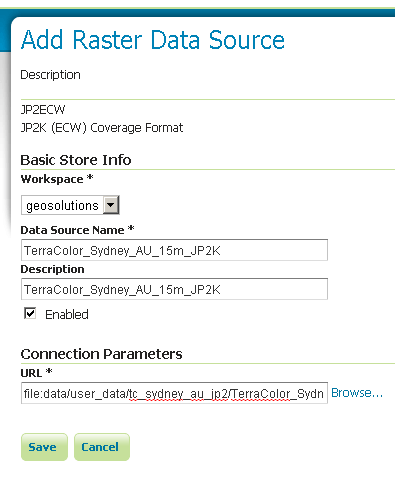
Click Save.
Assign a proper layername (e.g
TerraColor_Sydney_AU_15m_JP2K) then publish the layer by clicking on the publish link.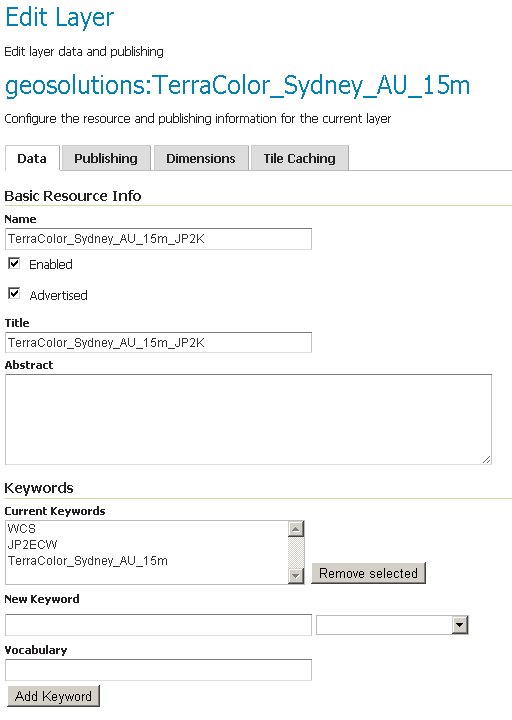
At this point the JPEG 2000 data is being published with GeoServer.
- Click the Layer Preview link in the left GeoServer menu.
- Look for a geosolutions:TerraColor_Sydney_AU_15m_JP2K layer and click the OpenLayers link beside of it.