Windows Binary Installer
The GeoNode Windows Binary installer can be downloaded here.
Current Versions
- GeoNode-2.4.x.exe; Old version of GeoNode, not fully mantained anymore.
- GeoNode-2.5.5.exe; Maintenance version of GeoNode, still based on old security system.
- GeoNode-2.6.x.exe; Stable version of GeoNode, based on new OAuth2 based security system.
- GeoNode-master.exe; Development version of GeoNode, not stable.
The Installer
The Windows binary installer is an executable file which automatically sets up your system for GeoNode. It will install everything on the target folder, chosen by the user as a first step.
In particular the installer configures the following components:
- An instance of the Oracle JRE 32bits
- An instance of Python 2.7.10 32bit with GDAL 1.11 extensions
- PostgreSQL with PostGIS spatial extensions
- Apache Tomcat with GeoServer for GeoNode webapp
- Apache HTTPD Server 2.49 (WinLAMP version)
The source code of the installer, along with all the components needed to build a custom executable and instructions, can be found at https://github.com/GeoNode/geonode-win-installer
Warning
In order to install GeoNode using the binary installer, you will need Windows Administrator rights.
Step by step GeoNode Windows installation
Execute the binary file downloaded from GeoNode servers

The first time you could get a Windows warning about the unknown publisher. Click on “Run Anyway” button in order to proceed

Click “Next” at the welcome screen

Read and accept the licence agreement on the next screen

Choose the install location. This is the folder where all the pieces of the GeoNode environment will be placed. You can also keep the default one.
Note
It is highly recommended to avoid long names with spaces and strange character. Also avoid positions which are system protected. Even if the installer runs with Administrator rights, you may encounter issues customizing GeoNode in the future.

Choose the name of the Start Menu folder. This is the name of the folder which will be created into the “Windows App Toolbar”. You can also keep the default one.

Next step will install the JEW 1.7 32bit version on the installation folder.

Warning
Before proceeding, please be sure you don’t have other JRE 1.7 32bit installation already present on your system. In order to do that please follow the instructions below:
Go to the “Control Panel”

Click on “Unistall a Program”

Check that the menu does not contain entries similar to the one shown in the following figure

Choose the location of the external GeoServer Data directory (where the physical geospatial files will be placed). It is recommended to keep the default value.

Select the minimum and maximum values for the memory to assign to the GeoServer JVM. This depends mainly from the RAM available on the target PC. The default values should work on most cases. Increase the Maximum Heap Memory if possible.

Choose the user and password for the GeoServer Administrator outside GeoNode authentication. The form presents the default ones.

- Choose the TCP/IP port to run Apache Tomcat. The default value (8080) is widely used from a lot of installation. If your system is not fully clean, it is kindly suggested to choose another value between 1024 and 65535.

- Proceed with the installation of Python 2.7.10 32bit.
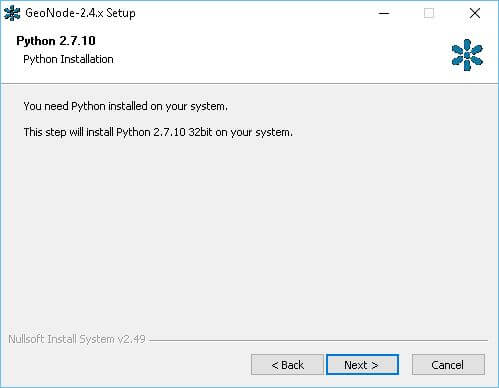
This will be placed into the target GeoNode installation folder along with GDAL 1.11 extensions

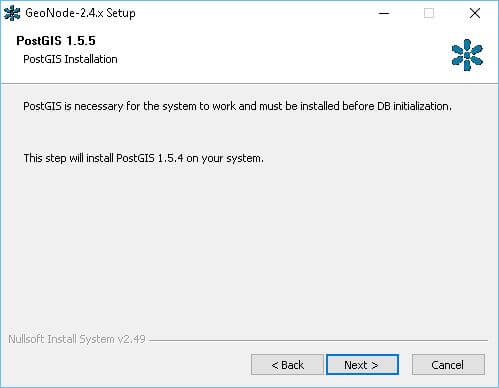
- Proceed with the installation of PostgreSQL 8.4.22 and PostGIS 1.5.4.
Note
The installation proceeds silently and using the default values:
- PostgreSQL: TCP/IP Port 5454
- User/password: postgres/g30Nod3-P0stgr3s


- Ready to install. The page summarizes the user choices and asks to finish the installation process.

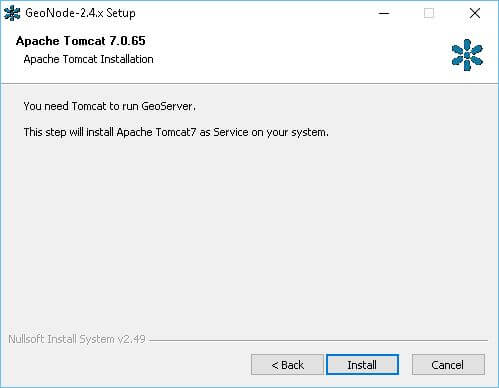
- Click “Next” and proceed with the installation and automatic configuration of Apache Tomcat 7.0.65535
- Confirm “Yes” in order to complete the GeoNode installation and configuration process.

- Wait until the process finishes copying the files

- At a certain point the process configures the database

and asks to copy the GeoNode static resources.

Warning
Enter “yes” and click “Enter”. The system will wait the user input!

- As a final step, the process automatically creates 8 sample layers on GeoNode

- You need to “Reboot” the system in order to make everything working fine

- Once the reboot has done, if everything has worked, you should be able to access the GeoNode Home directory on your local computer directly from the Windows App Toolbar


Congratulations! The GeoNode setup has successfully completed.
How your system has been updated after the GeoNode Setup
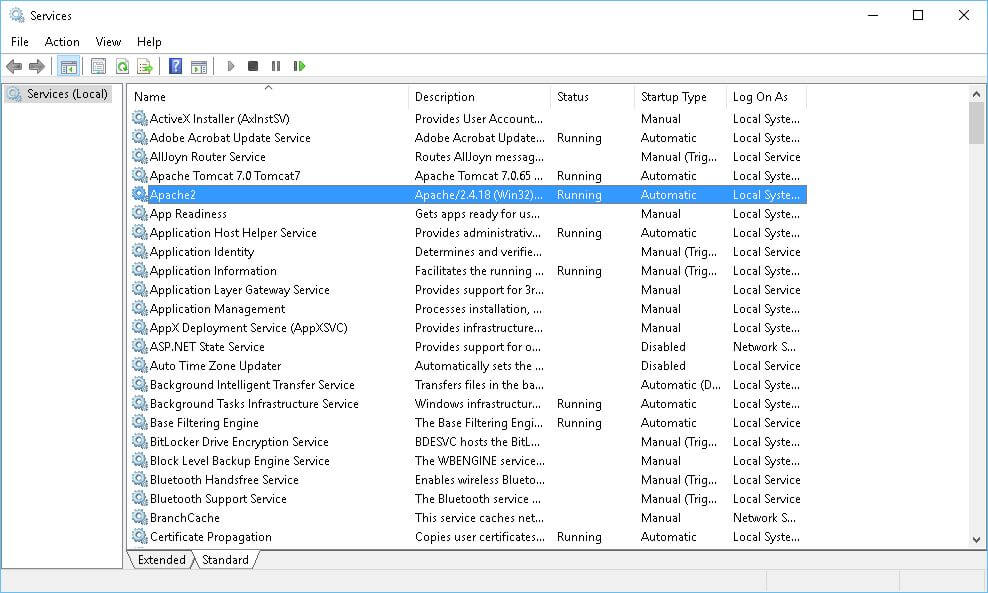
At the end of the installation, there will be 3 new Windows Services
Access the Windows local services from the “Control Panel”


The following services should be up & running at the end of the process and after a system reboot


At the end of the installation process, there will be few new Environment System Variables
Access the Environment variables from the System panel

Access the System Properties and click on “Environment Variables”

The new Environment Variables are:
- GDAL_HOME; pointing to the folder of GDAL 1.11
- GDAL_LIBRARY_PATH; pointing to the gdal111 dll
- GEOS_LIBRARY_PATH; pointing to the GEOS library dll
- JRE_HOME; pointing to the JRE 1.7 installed at the beginning of the process

- GEONODE_PATHEXT; all the Python paths which will be added to the Windows default PATH
