GeoNode Quickstart
Open Source Geospatial Content Management System
GeoNode is a web-based application and platform for developing geospatial information systems (GIS) and for deploying spatial data infrastructures (SDI).
In this Quickstart guide you will learn the following:
- How to register a new account to get started
- How to add a new layer
- How to create a map using your new layer
- How to share your map with others
Start GeoNode on your Live DVD or local VM and redirect your browser at http://localhost:8000/ (this is the default port). The page will look like shown in the image below.
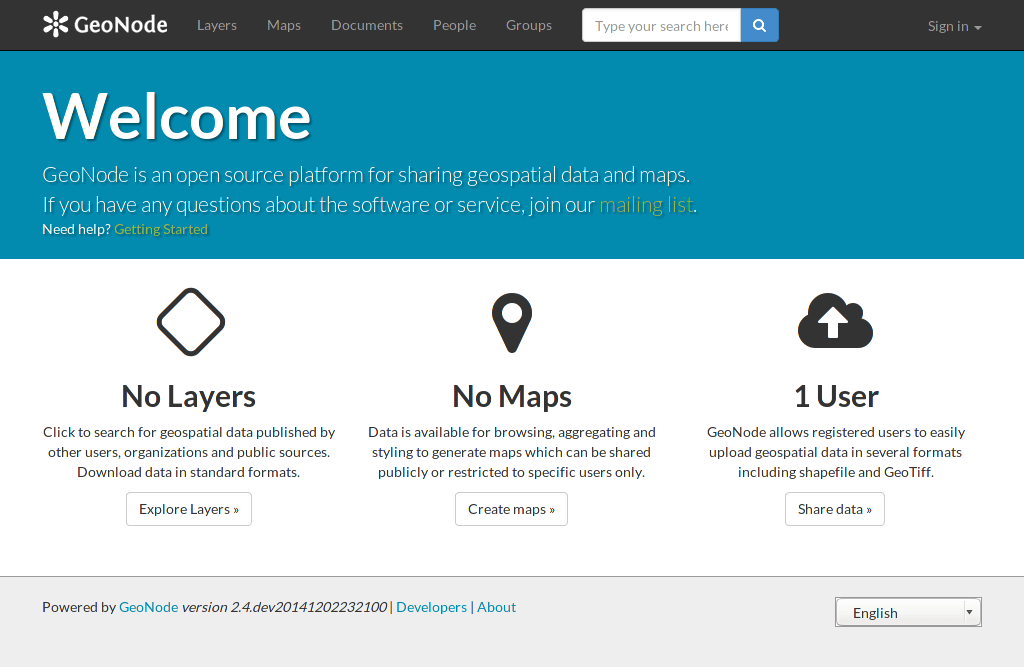
Welcome page
1. Register a new account
From the interface shown above, one can view and modify existing spatial layers and maps, as well as find information on other GeoNode users. But, without being logged in, you are limited to read-only access of public layers. In order to create a map and add layers to it, you have to have create an account first.
From any page in the web interface, you will see a Sign in link. Click that link, and in the dialog that displays, click the Register now link.
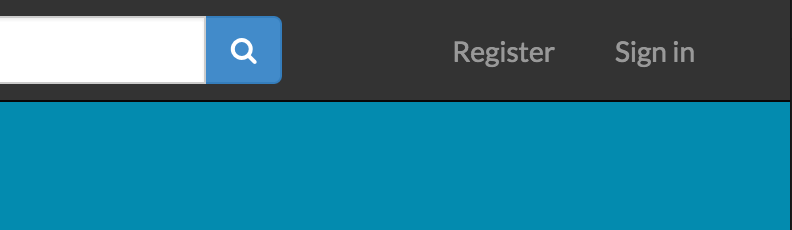
Sign in Form
On the next page, fill out the form. Enter a user name and password in the fields. Also, enter your email address for verification.
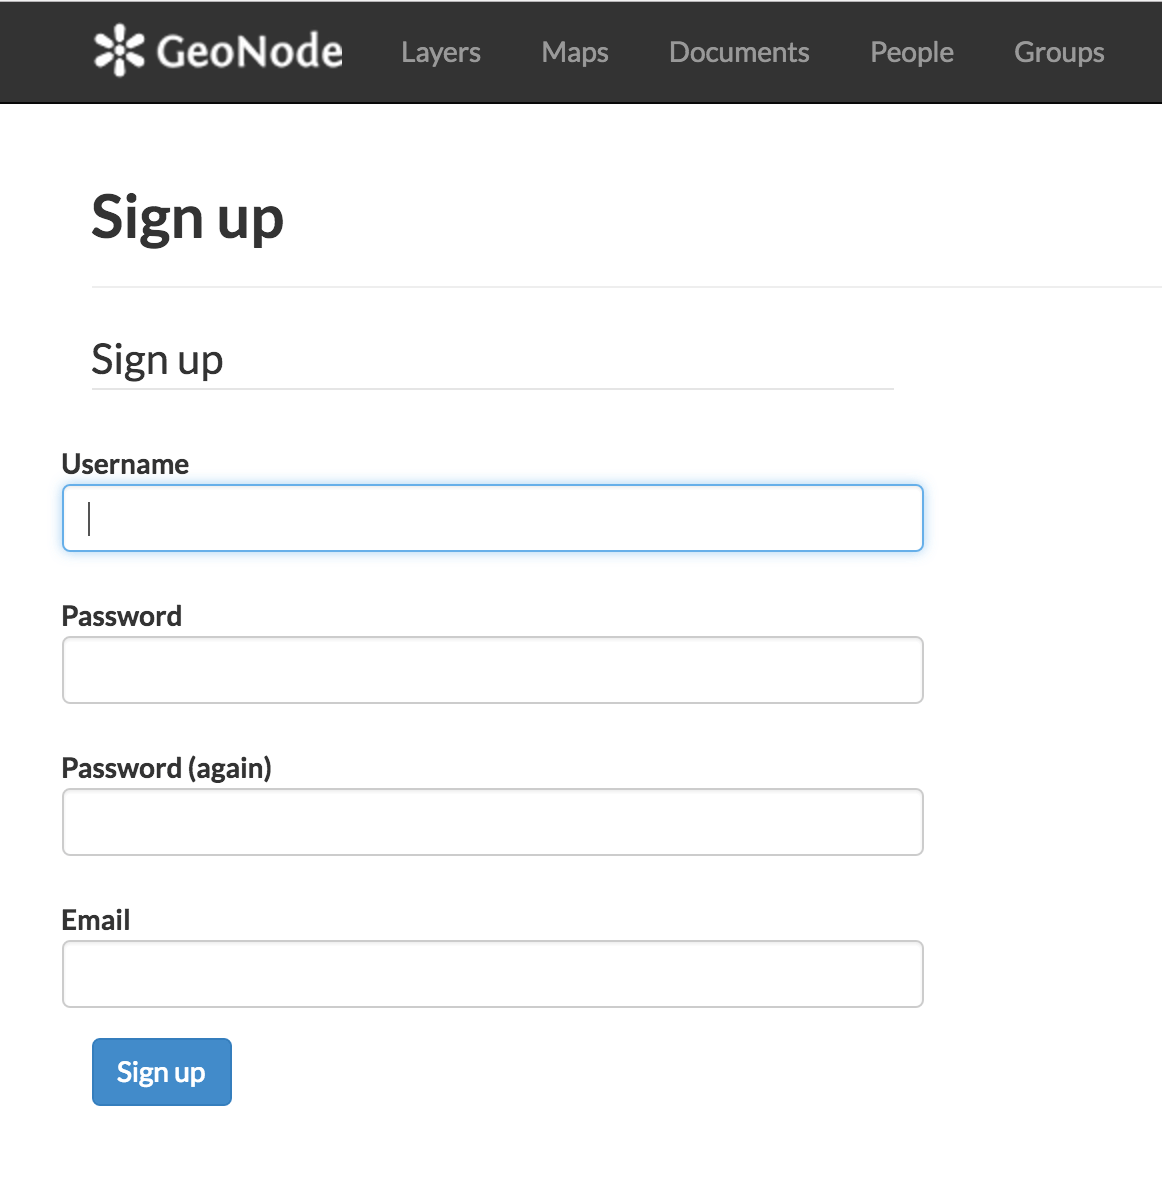
Register Form
You will be returned to the welcome page. An email will be sent confirming that you have signed up. While you are now logged in, you will need to confirm your account. Navigate to the link that was sent in the email.
By clicking Confirm you will be returned to the homepage. Now you’ve registered an account, you are able to add layers to it as well as create maps and share those with other users.
Note
Depending on how the GeoNode you are using is configured, registration may not be available, or you may not be required to confirm your email address before logging in.
2. Add a new layer
Layers are a published resource representing a raster or vector spatial data source. Layers also can be associated with metadata, ratings, and comments.
To add a layer to your account, navigate to the welcome page. There the following toolbar can be seen:

Toolbar
By clicking the Layers link you will be brought to the Layers menu where a new subtoolbar can be seen. This toolbar allows you to Explore, Search and Upload layers.

Upload Button
Now click Upload Layers and you’ll see the upload form.
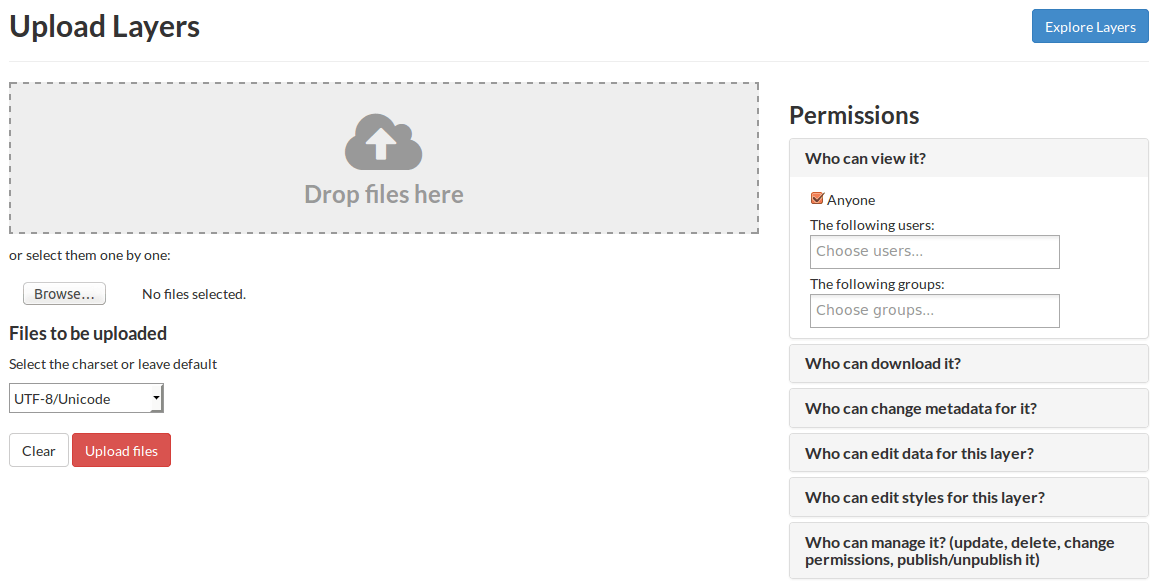
Upload Form
You have two possibilities to add your files. You can either do that by using drag & drop or you choose to browse them. Be aware that you have to upload a complete set of files, consisting of a shp, a prj, a dbf and a shx file. If one of them is missing, GeoNode will warn you before you upload them.
You shold now be able to see all the files you want to upload.
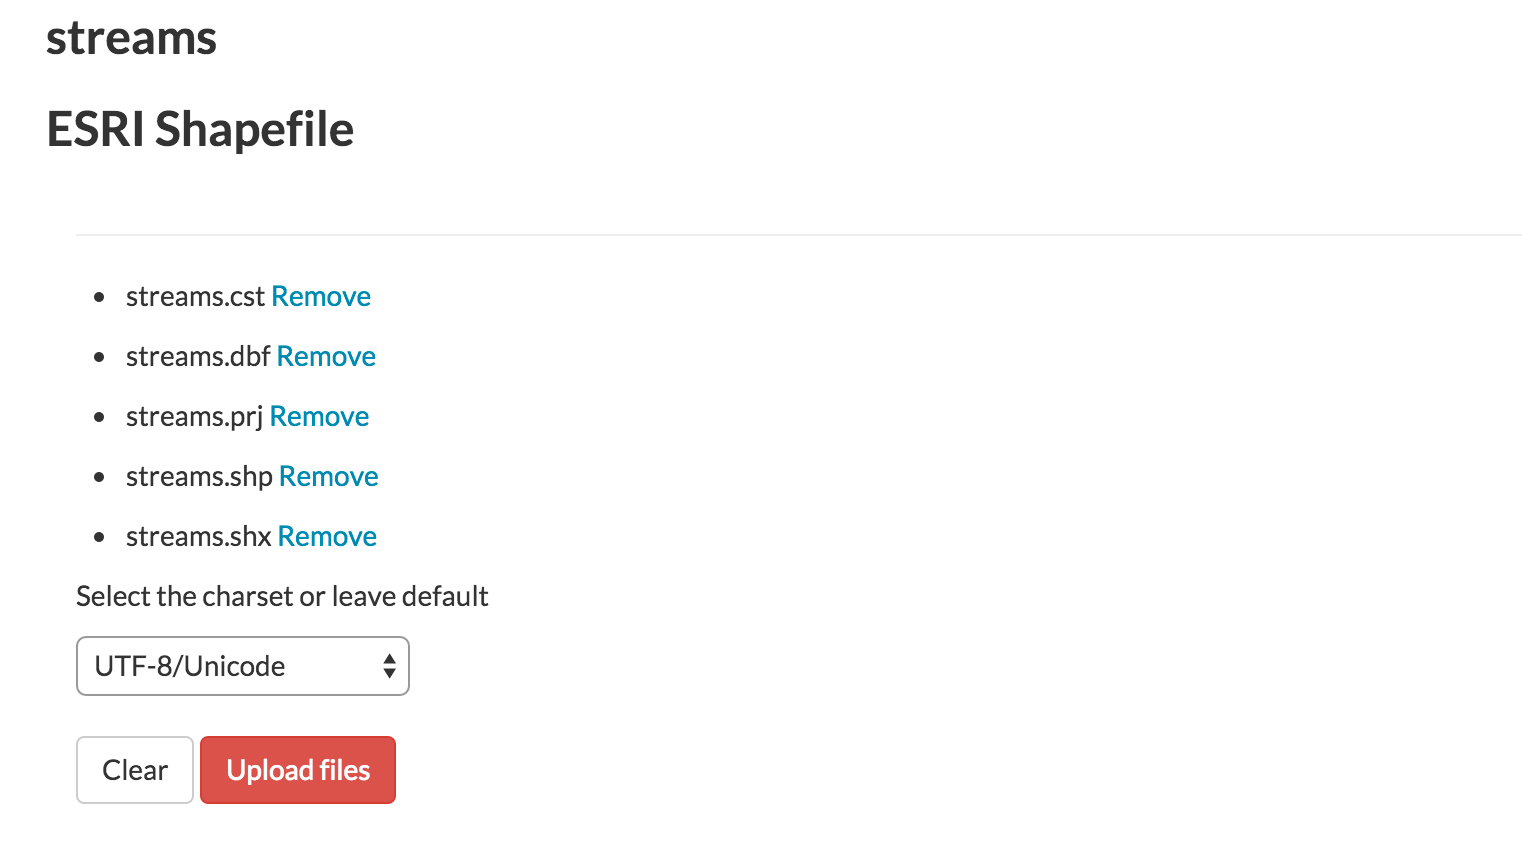
Files to be Uploaded
GeoNode has the ability to restrict who can view, edit, and manage layers. On the right side of the page you can see the Permission section, where you can limit the access on your layer. Under Who can view and download this data, select Any registered user. This will ensure that Anonymous view access is disabled. In the same area, under Who can edit this data, select your username. This will ensure that Only You are able to edit the data in the layer.
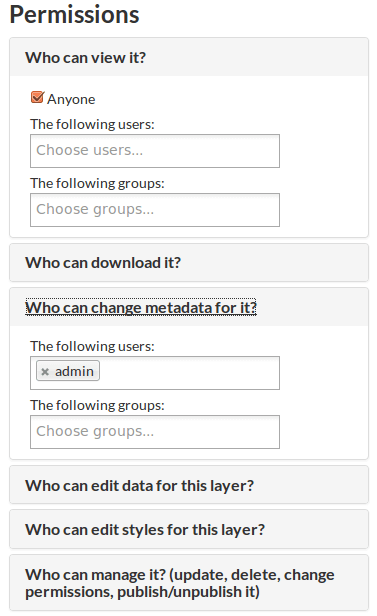
Permissions
To upload data, click the Upload button at the bottom.
3. Create a new map
The next step for you is to create a map and add the newly created layers to this map.
Click the Maps link on the top toolbar. This will bring up the list of maps.
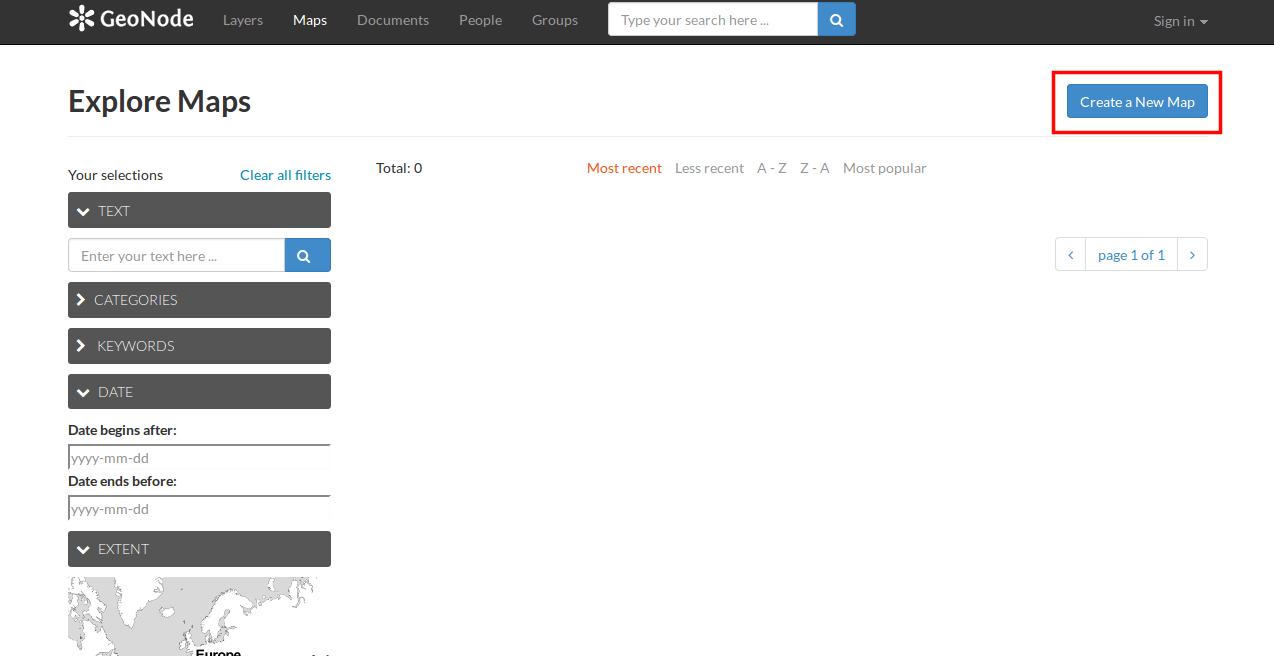
Create new Map Button
Currently, there aren’t any maps here. To add one click the Create a New Map button and a map composition interface will display.
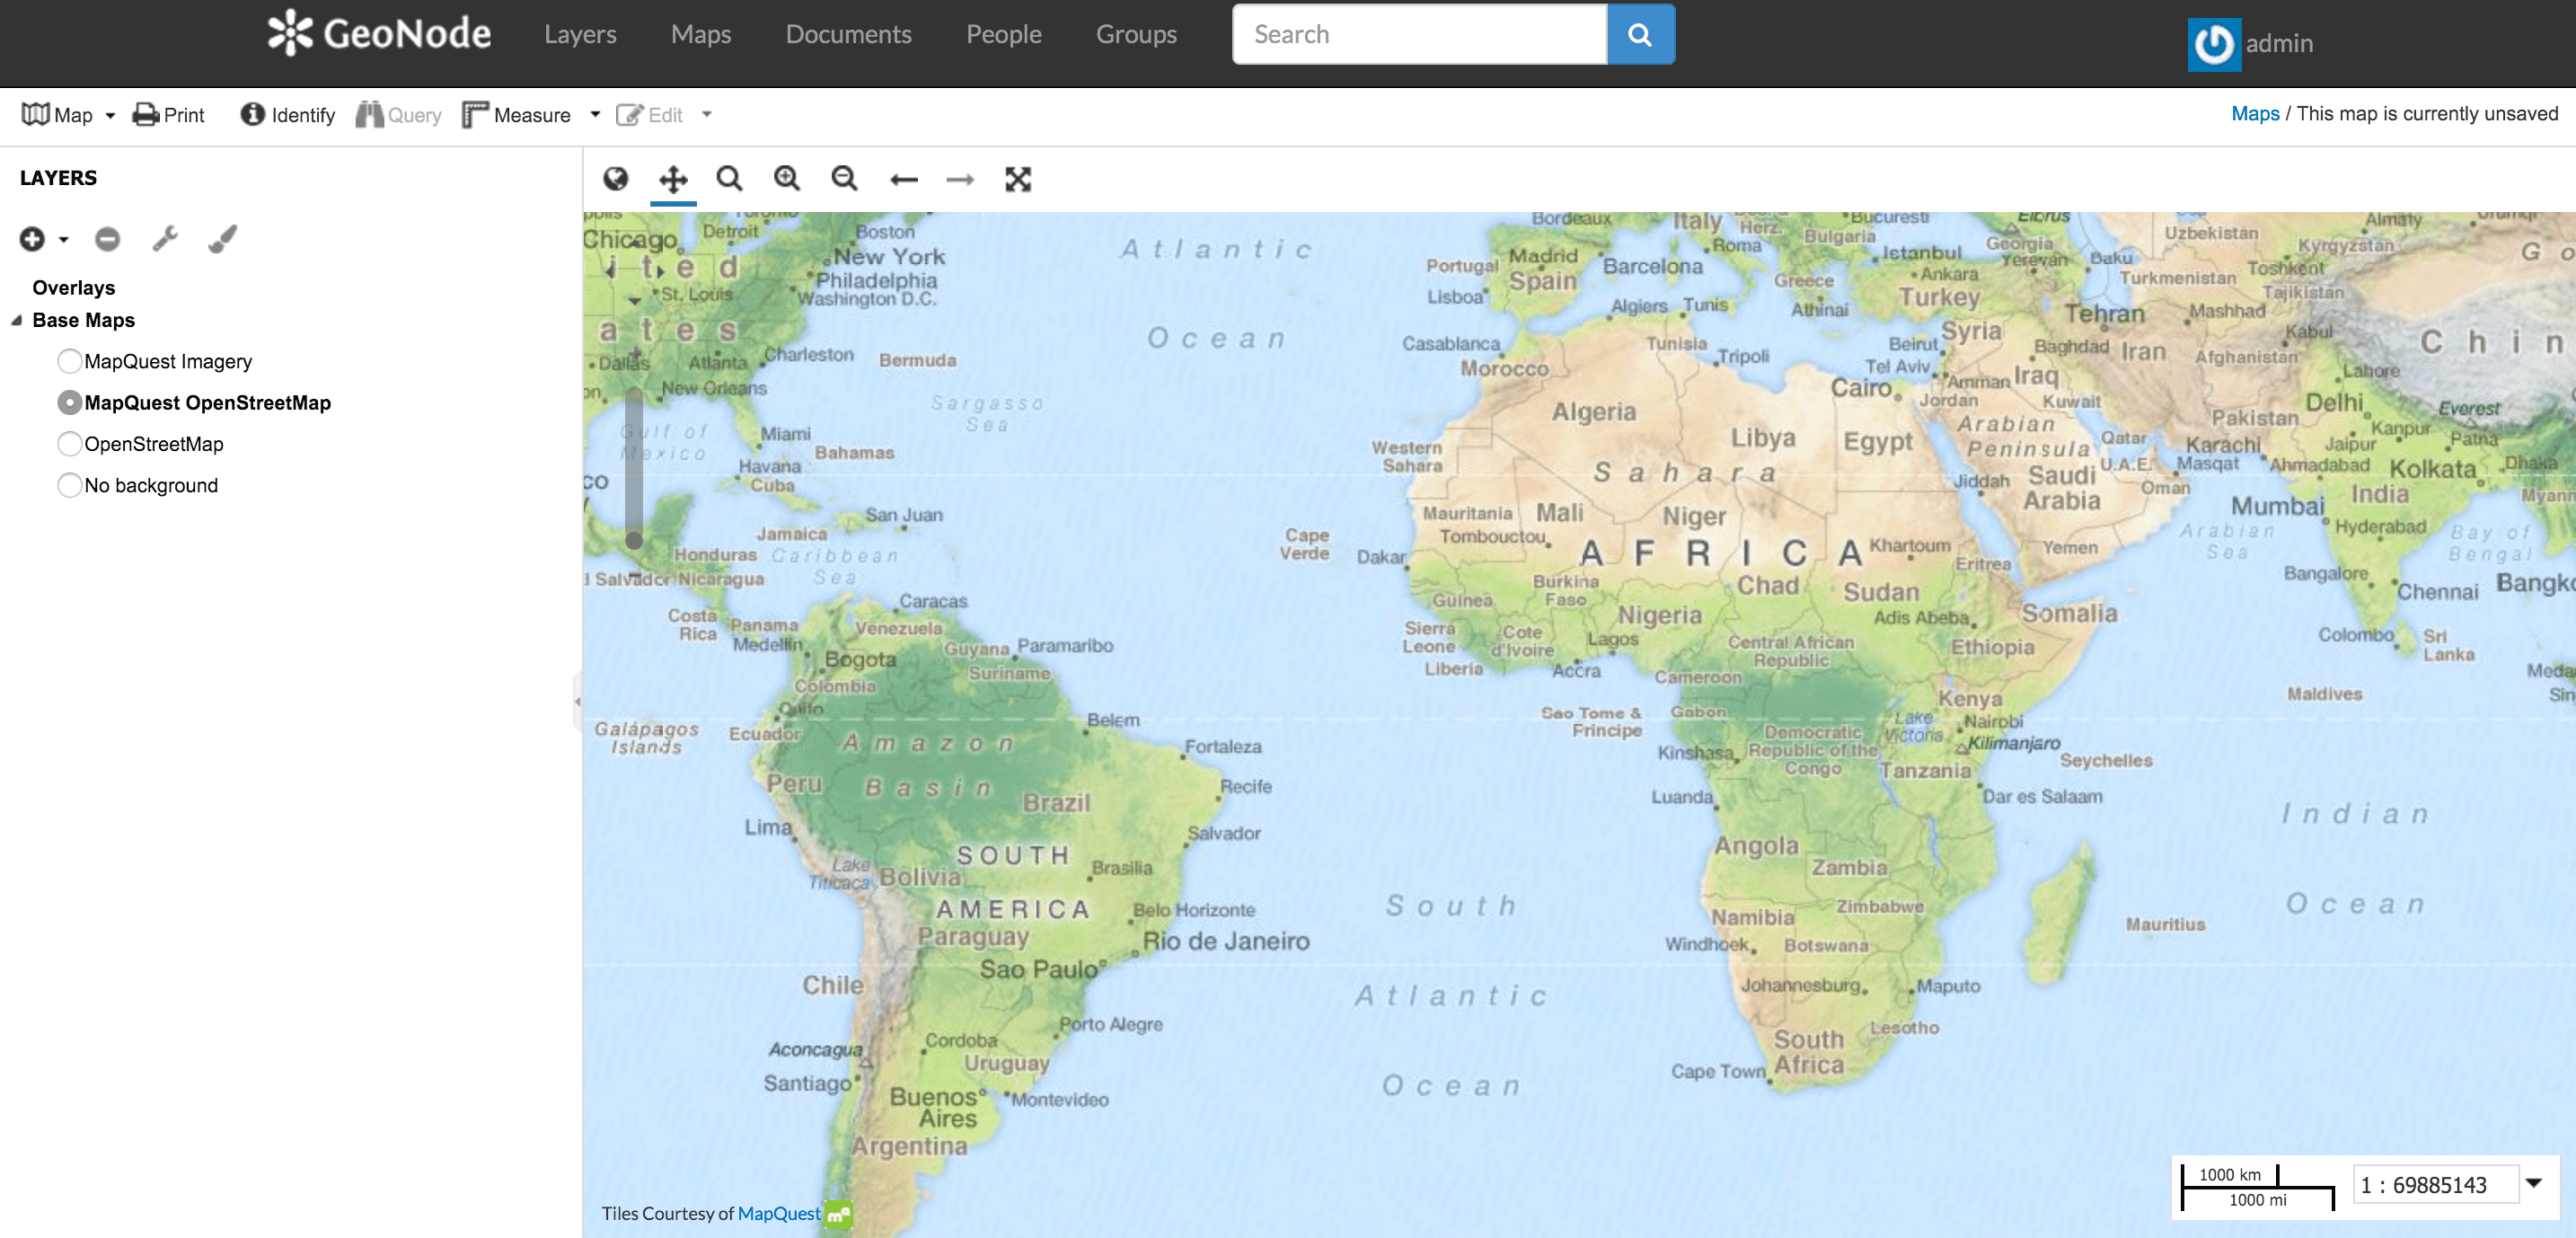
Maps Editor
In this interface there is a toolbar, layer list, and map window. The map window contains the MapQuest OpenStreetMap layer by default. There are other service layers available here as well: Blue Marble, Bing Aerial With Labels, MapQuest, and OpenStreetMap.
Click on the New Layers button and select Add Layers.
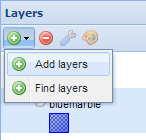
Add Layers
Now you should be able to see all the availabel layers. In your case, this should only be the ones you’ve added before (San Andreas?).
Select all of the layers by clicking the top entry and Shift-clicking the bottom one. Click Add Layers to add them all to the map.
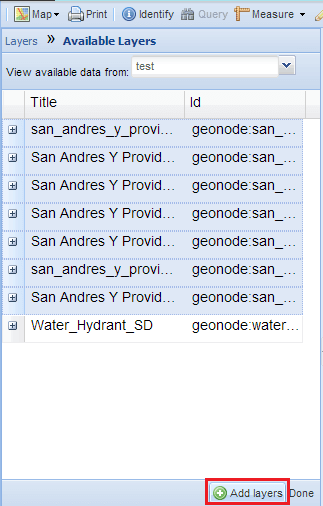
Add Layers
The layers will be added to the map. Click Done (right next to Add Layers at the bottom) to return to the main layers list.
To save the map click on the Map button in the toolbar, and select Save Map.
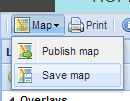
Save Map
Enter a title and abstract for your map.
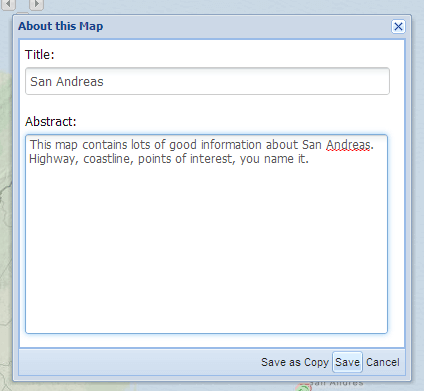
Edit Map Metadata
Click Save. Notice that the link on the top right of the page changed to reflect the map’s name.
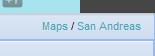
Save Map
This link contains a permalink to your map. If you open this link in a new window, your map will appear exactly as it was saved.
4. Share your map
Now let’s finish our map.
Check the box next to the highway layer to activate it. If it is not below the POI layer in the list, click and drag it down.
Activate Layers on Map
Make any final adjustments to the map composition as desired, including zoom and pan settings.
Click the Map button in the toolbar, and then click Publish Map.
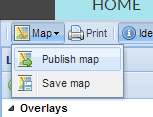
Publish Map button
The title and abstract as previously created should still be there. Make any adjustments as necessary, and click Save.
A new dialog will appear with instructions on how to embed this map in a web page, including a code snippet. You can adjust the parameters as necessary.

Publish the Map
Your map can now be shared!
To be continued
Now you’ve gotten some quick insight in the possibilities of GeoNode. To learn more about GeoNode and its features, visit the official GeoNode web page.
Stay in touch with the GeoNode community through the Gitter.im chatroom or by asking your question in our mailing list!